Home & Garden
Cattle Panel 101: What It Is, How To Build With It, And 10 Real-Life Ideas
If you’ve ever watched a flimsy fence lean over after one windy week, you already know the problem. Gardens need protection, pets need boundaries, and climbing veggies need something sturdier than twine and hope.
That’s why I keep coming back to the cattle panel. It’s simple, strong, and oddly pretty once you use it with intention. Below, I’ll explain what it is, how I build a basic cattle panel fence, and ten of my favorite ways to use panels around a home and garden.
What a cattle panel is (and what it isn’t)
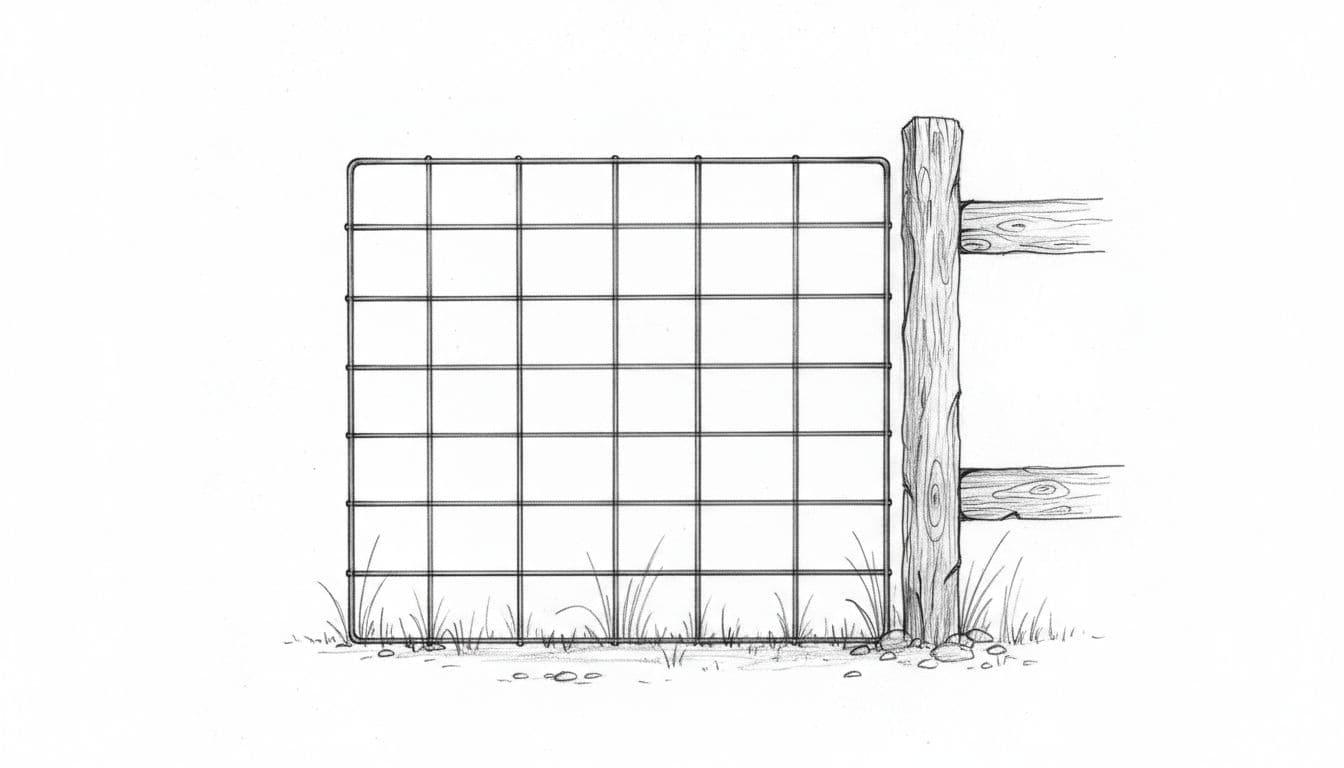
A cattle panel is a rigid, welded-wire livestock panel made from steel rods. People also call it a stock panel or livestock panel. The key word is rigid. Unlike rolled fencing, it doesn’t come in a floppy coil that fights you the whole time.
Most panels you’ll see at farm stores are about 16 feet long and about 50 inches tall (sizes vary, so I always double-check before planning). The grid openings are usually larger near the top and tighter near the bottom, which helps with strength and containment.
Here’s the part that trips up first-timers:
You don’t “build” a cattle panel from scratch. You build with it (fences, trellises, arches, pens, and more).
Panels are often galvanized for rust resistance, but cuts and scratches still matter. If you want extra background on what panels are and how they’re made, this cattle panel explanation gives helpful context.
When I’m choosing a panel, I think about two things: rod thickness (heavier feels sturdier) and opening size (smaller openings help keep small pets in and pests out).
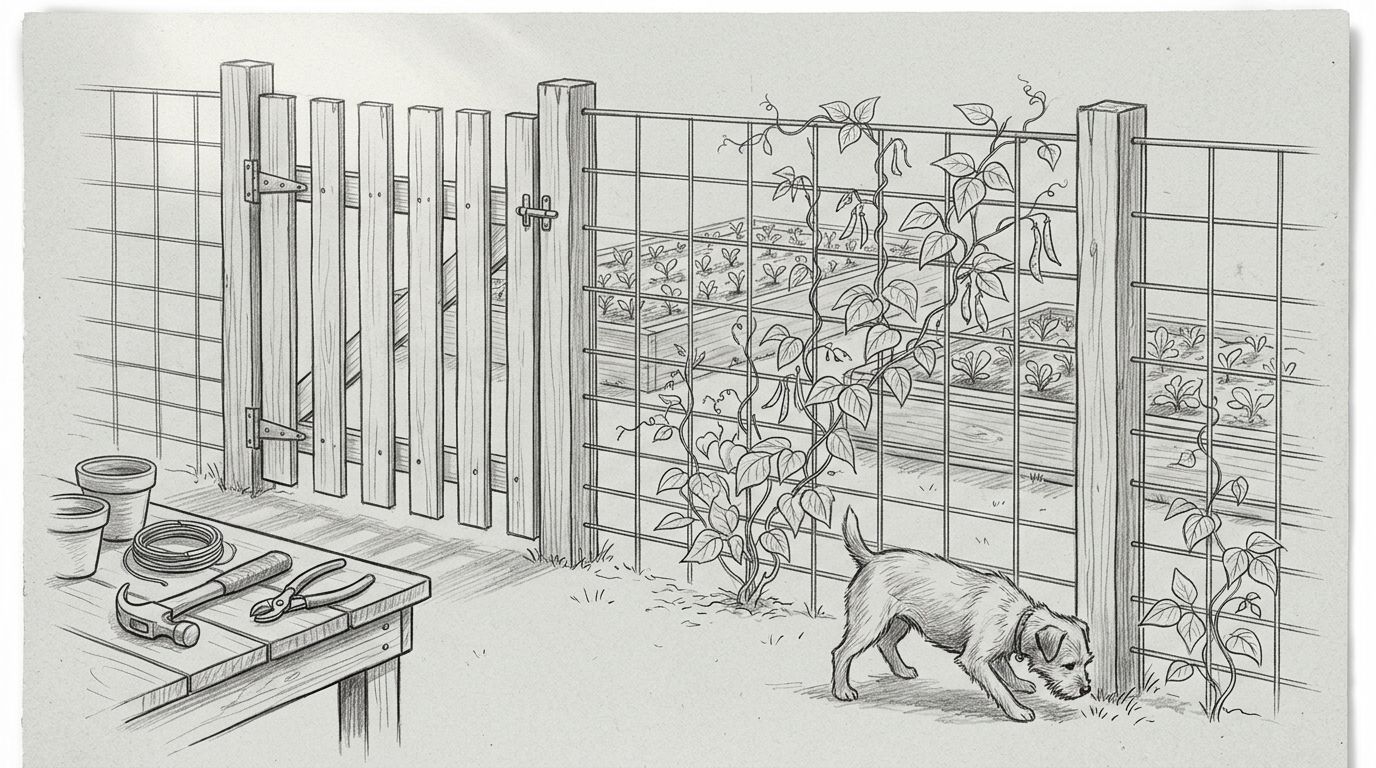
How I build a simple cattle panel fence (step-by-step)
I use cattle panels most often for garden fences, side-yard boundaries, and quick animal barriers. The process is straightforward, but the fence looks best when the layout is tidy.
Before I start, I gather a short checklist:
- Cattle panels (commonly 16 ft x 50 in)
- Posts (T-posts, wood posts, or rebar stakes)
- Fasteners (wire ties, fence clips, hog rings, or UV-rated heavy zip ties)
- Post driver or sledge (depends on post type)
- Tape measure and string line
- Gloves and eye protection
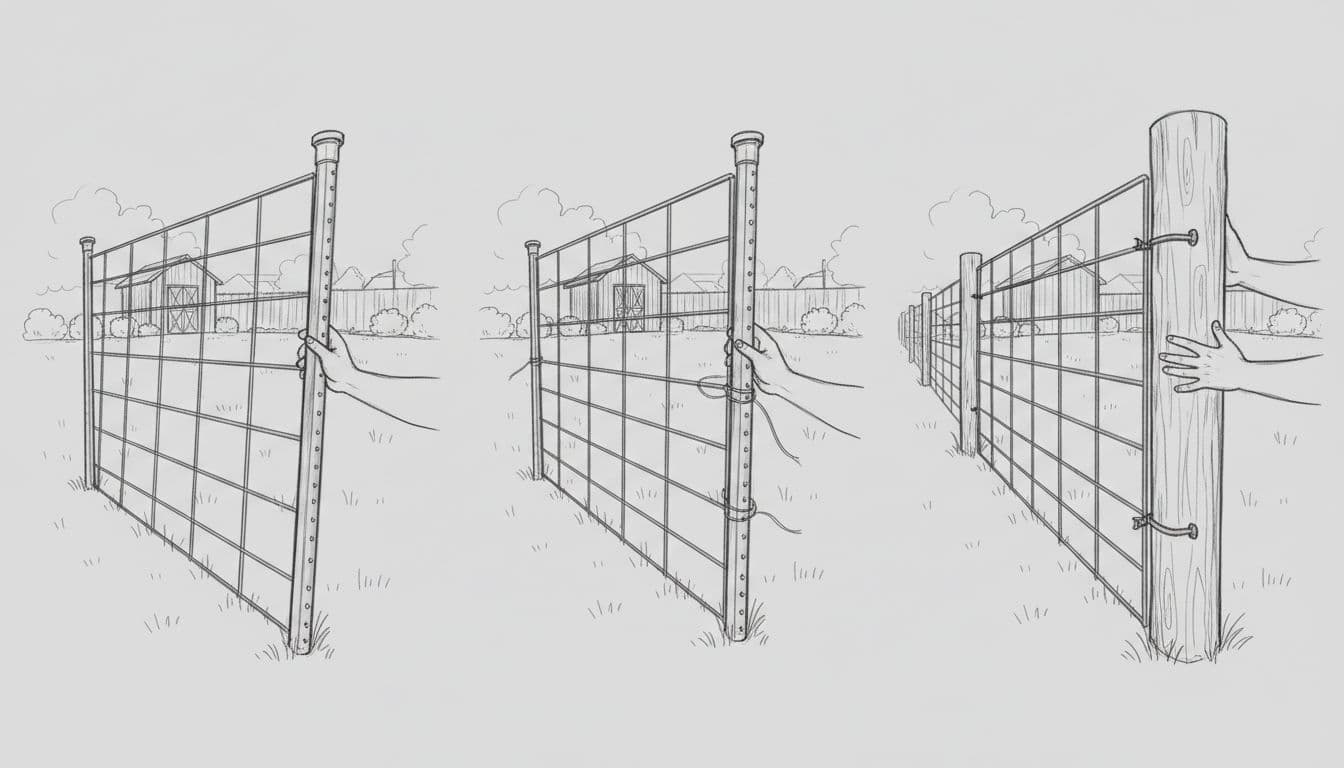
My basic install steps
- Mark the fence line. I run a string line and mark corners first, then fill in between.
- Plan post spacing. For most DIY garden fences, I like posts every 6 to 8 feet. If animals will push on it, I tighten to 4 feet.
- Set corner strength. With wood posts, I brace corners so the line stays straight.
- Drive or set posts. I pick one of these anchoring methods:
- T-posts (fastest): Drive them 18 to 24 inches deep, deeper in loose soil.
- Wood posts (clean look): Set posts 24 to 36 inches deep, often with concrete in wet or sandy areas.
- Rebar stakes (temporary builds): Drive 24 to 36-inch stakes and tie the panel on, best for seasonal setups.
- Hang the first panel. I keep the bottom edge 1 to 2 inches off the soil to reduce rust and weed tangles.
- Fasten every post. I use 3 to 5 ties per post (top, middle, bottom, plus extras if the panel flexes).
- Join panels neatly. At seams, I overlap one grid square and tie tight, then check for sharp wire ends.
If you want another set of visuals and layout ideas, this modern cattle panel fence guide is a useful reference.
A quick note on permits: basic open fencing rarely needs one, but covered structures (like a hoop house with a plastic cover, a pergola-style entry, or anything that could act like a “shed”) can trigger local rules. When in doubt, I check my city or county requirements before I build.
Keep it straight: design tips, troubleshooting, and maintenance
Cattle panel projects hold up well, but only if the support system matches the job. Wind, wet soil, and time can expose weak spots fast.
Sagging in the middle usually means my post spacing is too wide, or I didn’t use enough ties. Adding one mid-post often fixes it. For long runs, I also tighten the line by re-fastening the panel while a helper pushes it flush to the posts.
Racking (leaning out of square) shows up on gates, corners, and freestanding panels. In that case, I add a diagonal brace, or I switch to sturdier end posts.
Wind uplift is a real issue for arched or covered builds. More ground contact helps, so I use deeper posts, more ties, and extra stakes at the ends. For plastic-covered hoop houses, I secure edges well and remove covers before major storms when possible.
Snow load can flatten arches if they’re too wide or not supported. In snow zones, I size the arch conservatively, add a center support, and clear heavy snow quickly.
Here’s how I think about cattle panels compared to other common fence options:
| Fence type | What it’s best at | Main drawback |
|---|---|---|
| Cattle panel | Rigid panels, fast builds, great for gardens and trellises | Harder to transport, needs solid posts |
| Welded wire roll | Budget-friendly, flexible layouts | Can sag between posts over time |
| Chain link | Long-term perimeter fencing, high durability | More hardware and labor, less “garden-y” look |
If you’re deciding between chain link and welded mesh styles, this welded mesh vs chain link comparison helps frame the tradeoffs.
For maintenance, I do a quick walk twice a year: I tighten loose ties, check corners, trim weeds, and touch up cut ends with a rust-resistant coating made for metal.
10 great cattle panel examples I actually use (or want to)
Once you have one extra panel leaning on the side of the garage, ideas start multiplying.
- Garden perimeter fence: Quick protection from dogs, rabbits, and “helpful” toddlers with toy shovels.
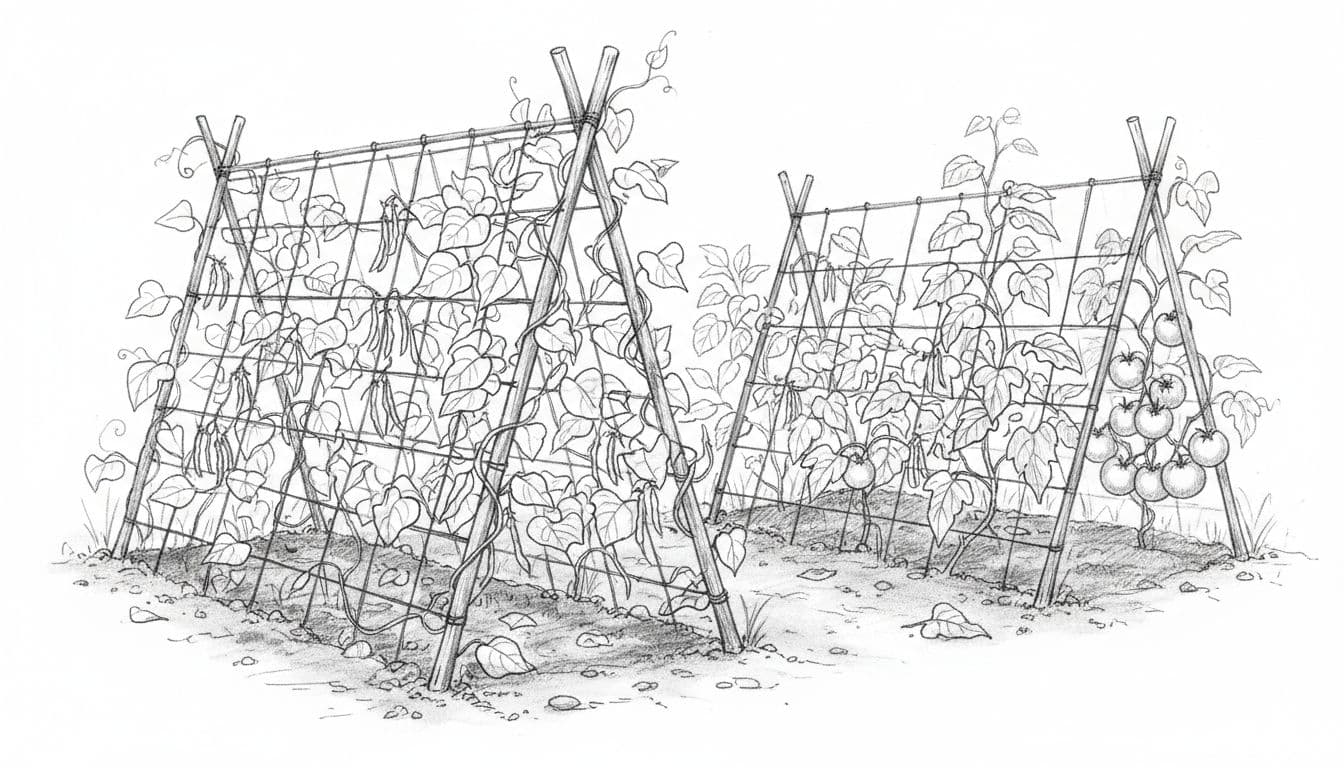
- Raised-bed trellis wall: Attach a panel to posts behind a bed for peas, cucumbers, and pole beans.
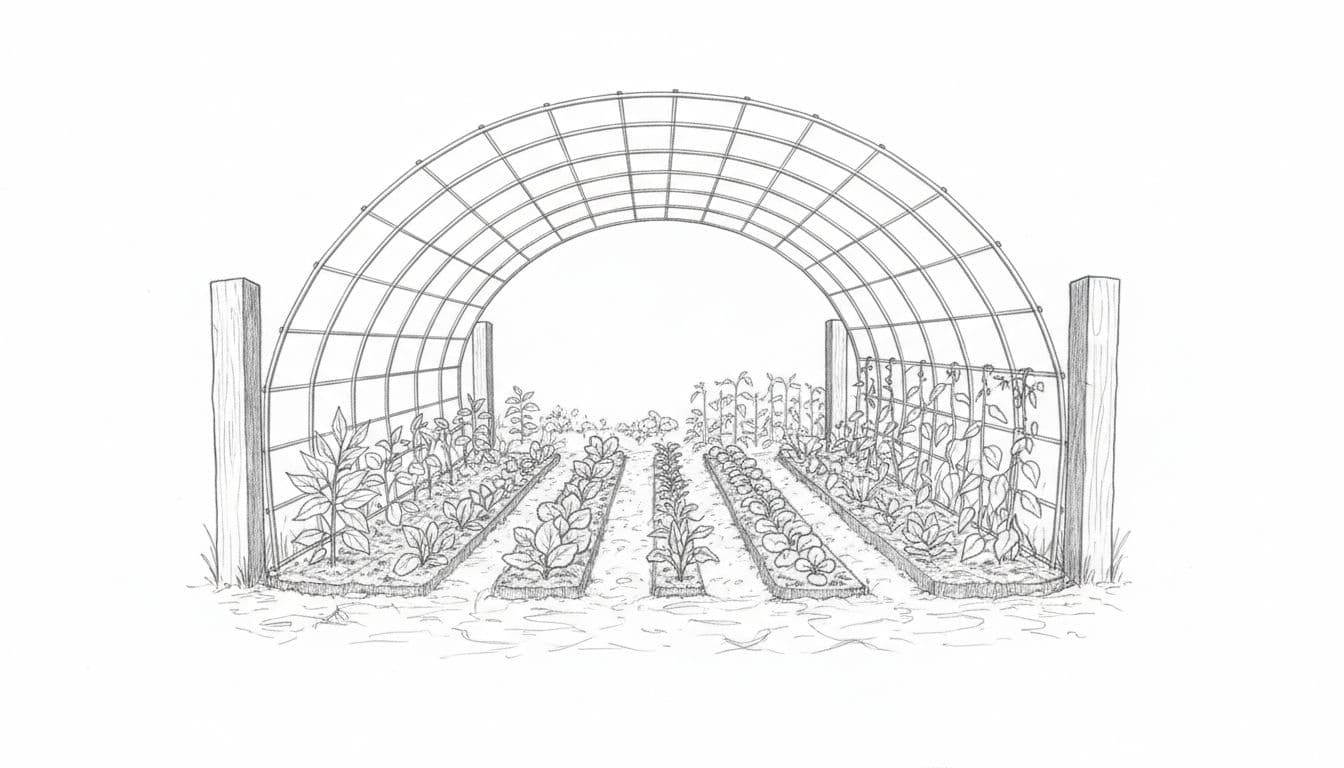
- Arched trellis tunnel: Bend a panel between two beds for a shaded walkway of vines and flowers.
- Hoop house frame: Add an arch, then cover in season (check codes if it becomes a true structure).
- Tomato support screen: Tie stems loosely to the grid and keep fruit off the ground.
- Compost bin sides: Use panels as breathable walls, then secure corners with stakes or posts.
- Chicken run barrier: Stronger than light wire, especially along the bottom edge.
- Dog run divider: Create a simple partition that’s sturdy but still open and airy.
- Privacy panel with vines: Pair with a few posts, then train jasmine or clematis for a living screen.
- Garage storage rack: Mount a cut section on a wall for hooks, clamps, and garden tool organization.
For a deeper trellis-specific walkthrough, I like this DIY cattle panel trellis tutorial because it shows how gardeners adapt panels to raised beds.
Cattle panel FAQ (bending, cutting, and choosing thickness)
How do I bend a cattle panel into an arch?
I anchor both ends first, then pull the middle over slowly. For clean arches, I keep the end posts square and the spacing consistent.
How do I cut a cattle panel?
Bolt cutters work for many panels, but thicker rods may need an angle grinder. Either way, I wear eye protection and file or cap sharp ends.
What gauge should I choose?
I go heavier for animal fencing and high-traffic areas. For trellises and décor, a lighter panel can be easier to handle while still staying rigid.
Conclusion
A cattle panel is basically the Swiss Army knife of the garden aisle. When I set solid posts, use enough ties, and plan for wind and weather, it holds up for years. Start with one simple fence run or a trellis, then see where the extra panel leads. Once you get comfortable building with a cattle panel, you’ll spot uses for it everywhere.