Home & Garden
Chic DIY Acrylic Tray with Decorative Liner
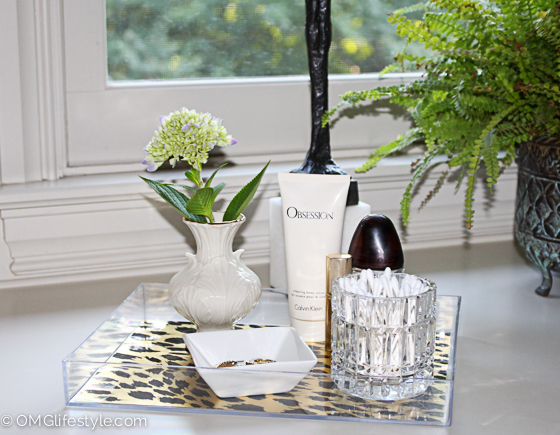
This inexpensive DIY acrylic tray was so easy to make. Read the post to see how I created this decorative liner that is chic, washable and interchangeable.

While cleaning out my basement I came across several acrylic frames. I love the look of acrylic and lucite trays so I decided to turn one of my frames into a small tray for my bathroom counter.
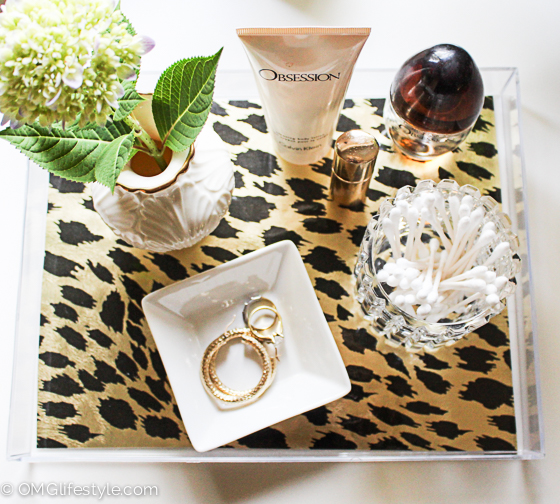
To jazz up the clear tray, I chose an animal print wrapping paper to use as the liner. I laminated the paper to make it waterproof and easy to clean. That’s it. It couldn’t have been any easier. Since the liner is removable, you can create several different ones and change that out accordingly.
Materials for DIY Acrylic Tray
Box-like Acrylic Frame
Wrapping Paper
Scissors
Pencil
Laminator
Instructions for Tray Liner
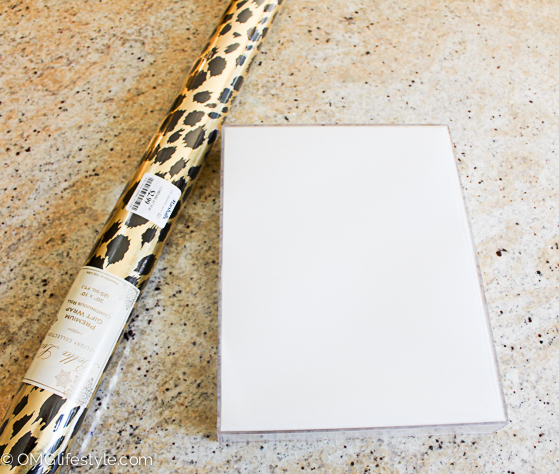
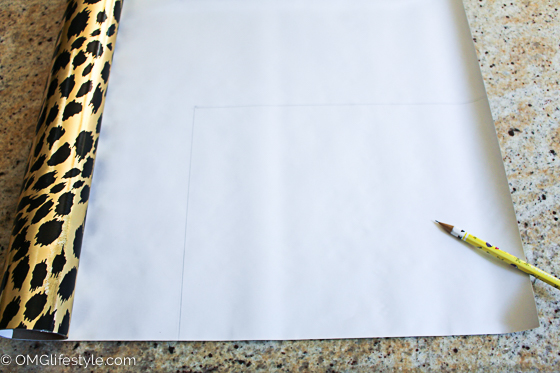
Don’t you love this animal print gift wrap paper from Marshalls? It was only $2.99. It’s a foil-like paper and I loved the gold background. Depending on the size of your frame, you could also use scrapbook paper which has a large variety of designs and patterns.
I removed the cardboard insert and used that as my guide to mark the paper where it needed to be cut. Use the insert to measure, not the frame, as the frame will be too big.
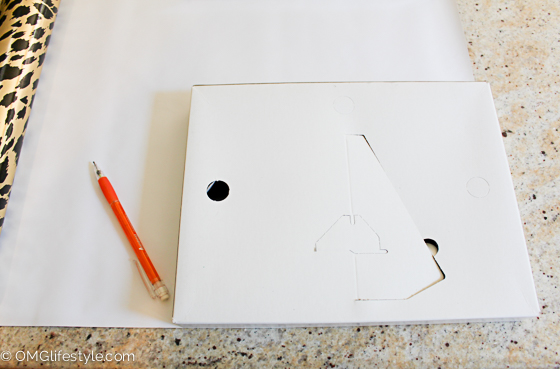
Once you outline the frame, cut the paper according to the size you need. Since this was a new roll of paper, I aligned the insert with the corner.
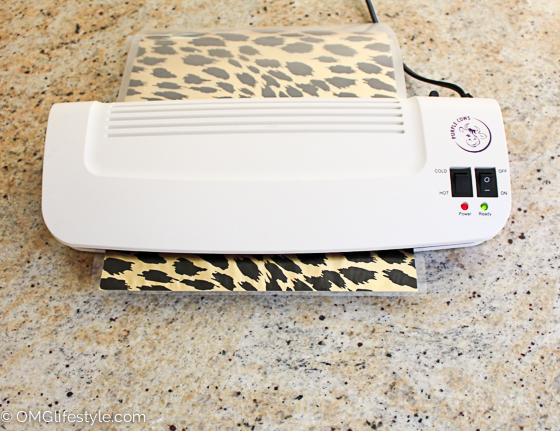
I bought an inexpensive Purple Cows Hot & Cold Laminator at Costco years ago. I have used it for so many things. By laminating the paper, it seals the paper between two sheets of plastic.
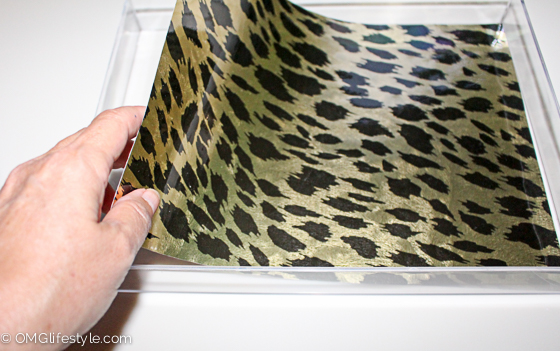
Once your paper is laminated, let cool for a minute. Trim the plastic off the paper and then insert in your tray. That’s my easy DIY Acrylic Tray!

If you would like to make one of these acrylic trays, you can find the frames and laminator at your local craft store or on Amazon below.